Get Started
Here is a quick guide to get started with Hypi Tink!
- Complete the registration on Hypi Tink by creating a user account.
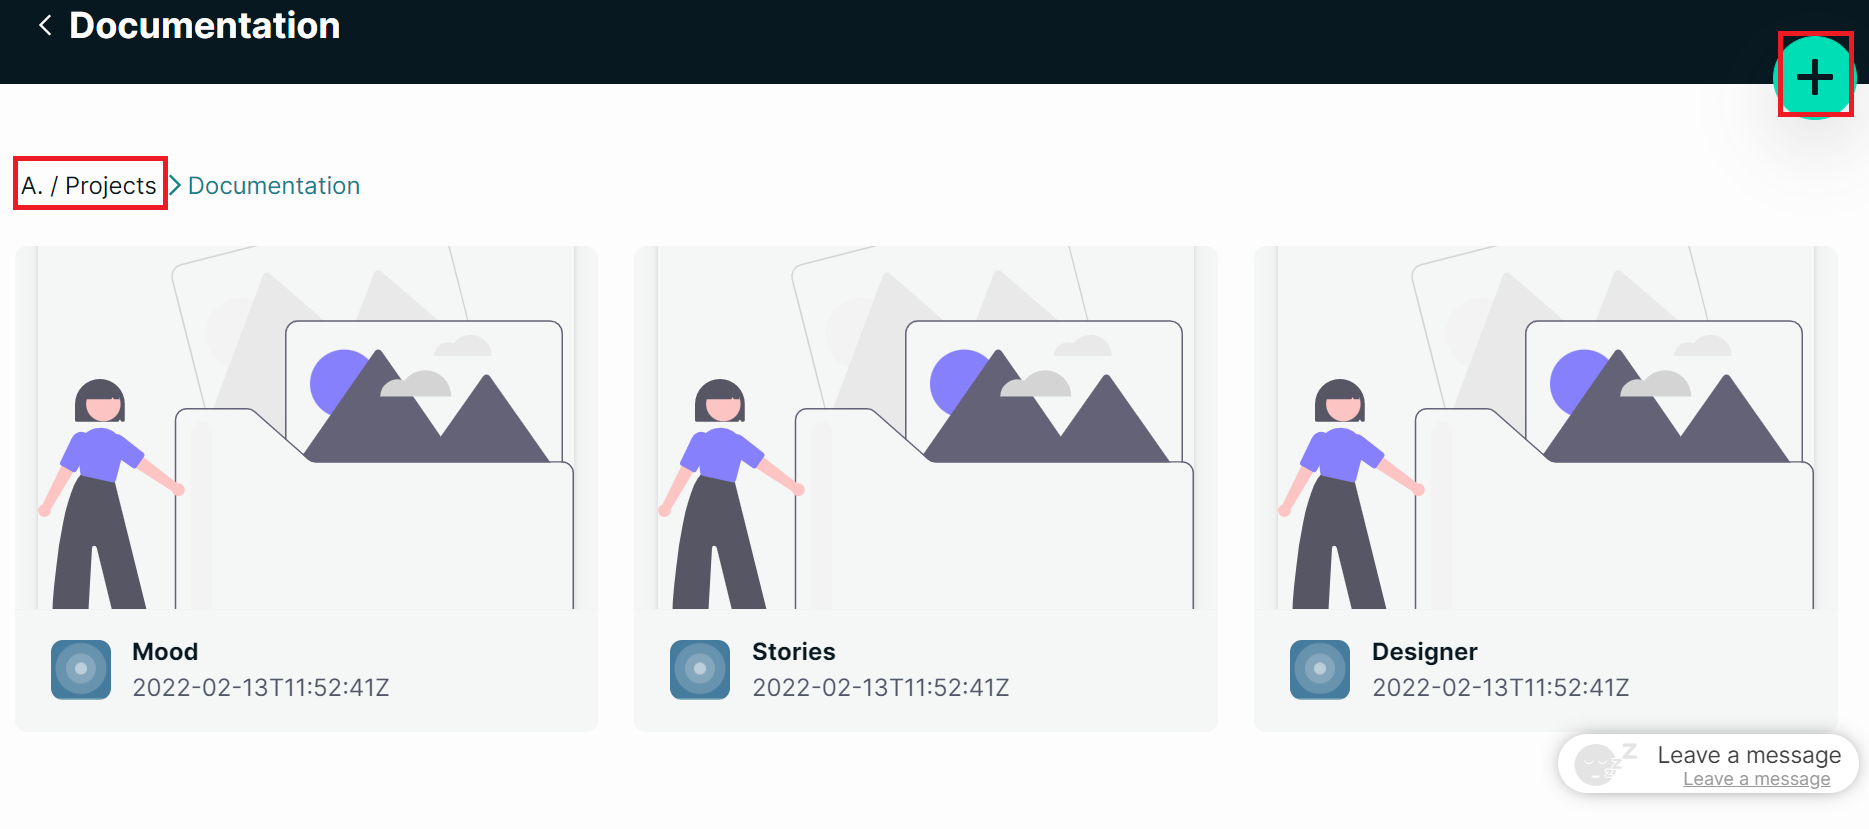
- Create a project on the Project dashboard by clicking
+sign. Mood, Stories, and Designer board are created.
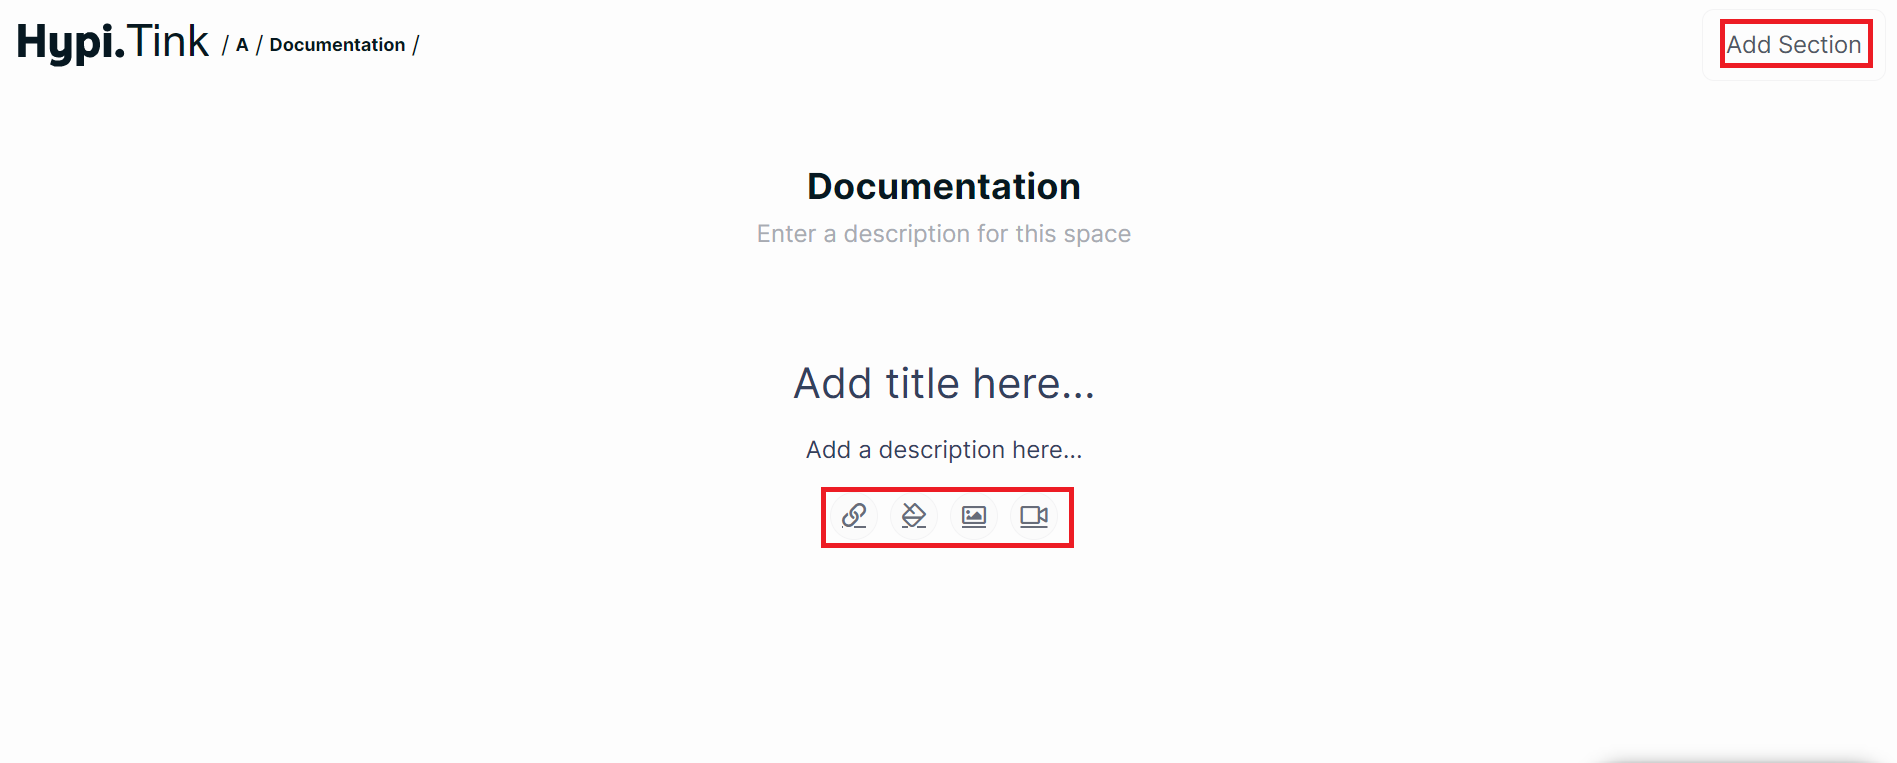
- On the Mood Board, add Section. Then save resources needed to build user interface like images, videos, weblinks, colour schemes, etc.
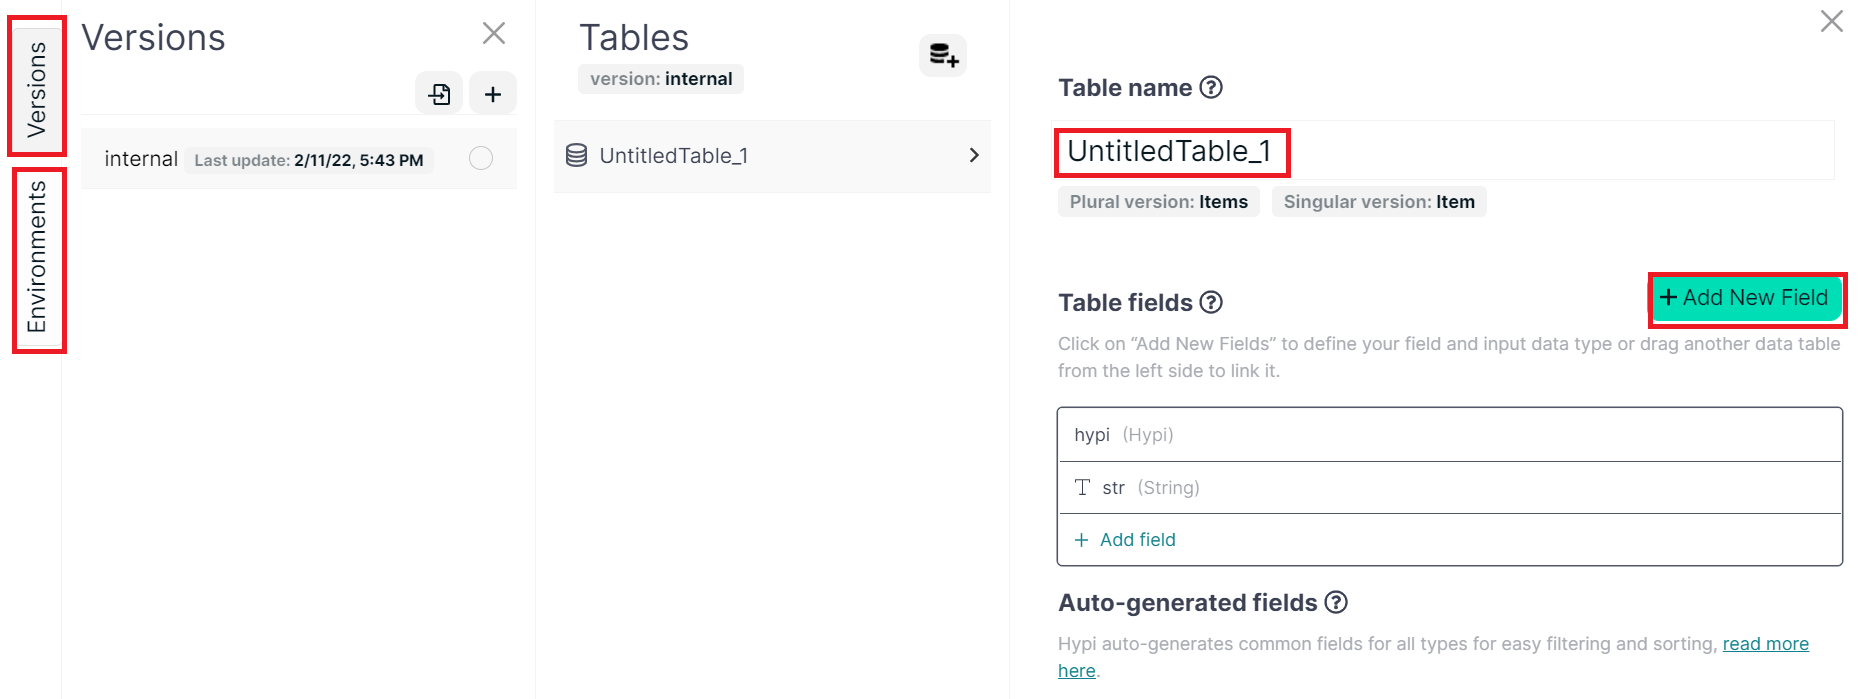
- On the Stories board, create user stories by adding probable actions by users and their outcomes. Create data tables by clicking database icons.
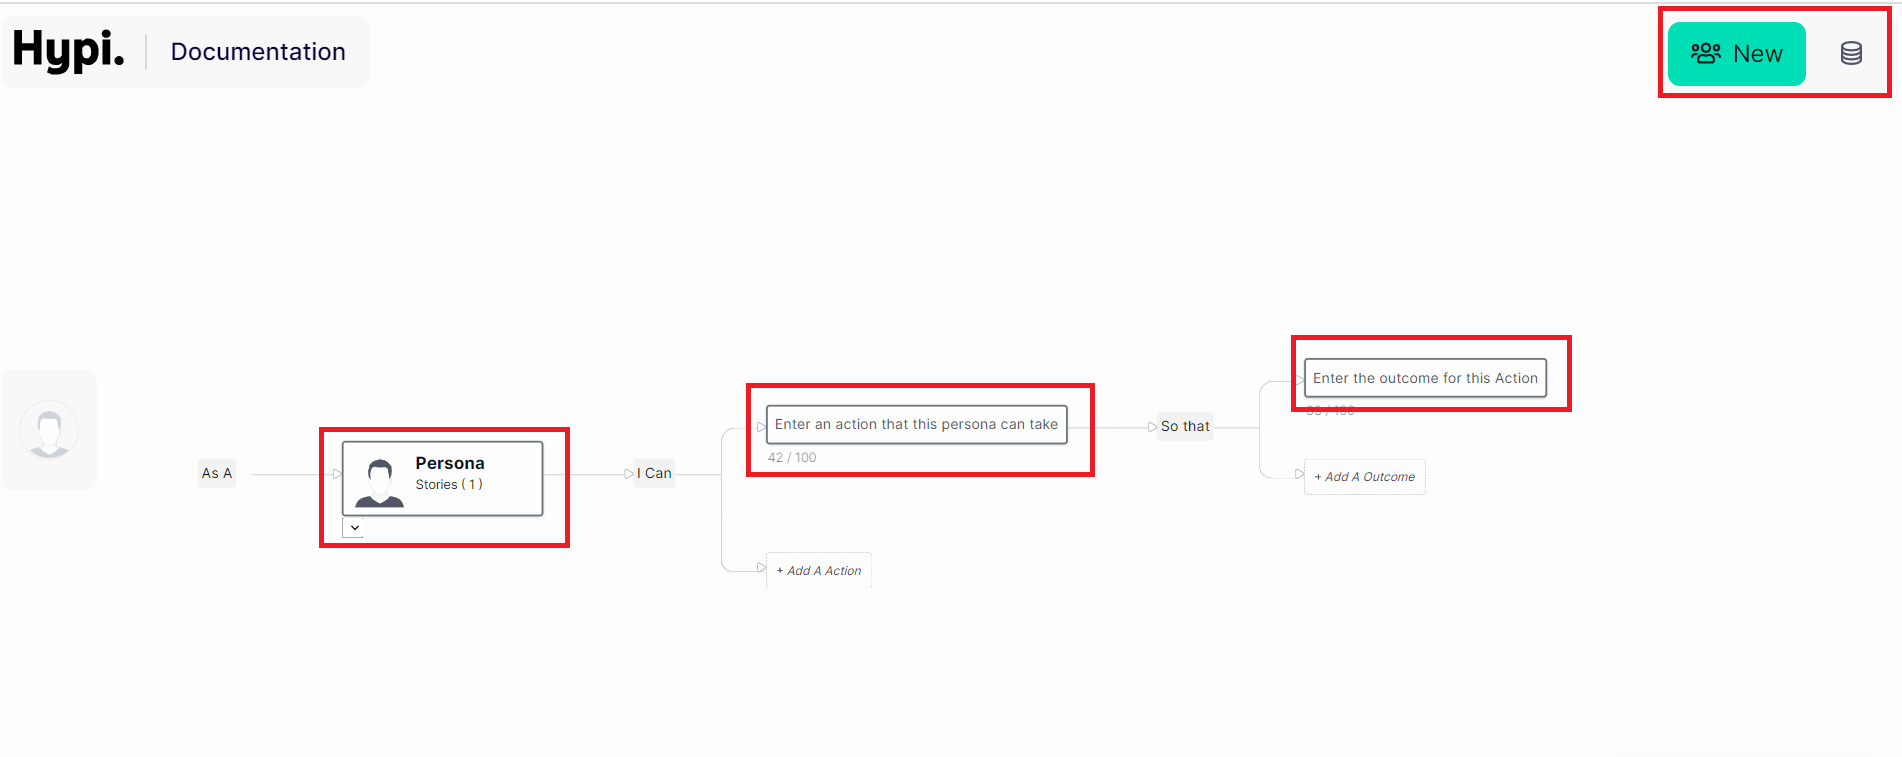
- Add Data Tables by adding data fields. Create versions of your app by adding releases. Create instances by adding domains to use APIs by Hypi's low code backend.
- Create User Interfaces on the Designer board. Add Screens or Components. Drag and drop required widgets on the screen.
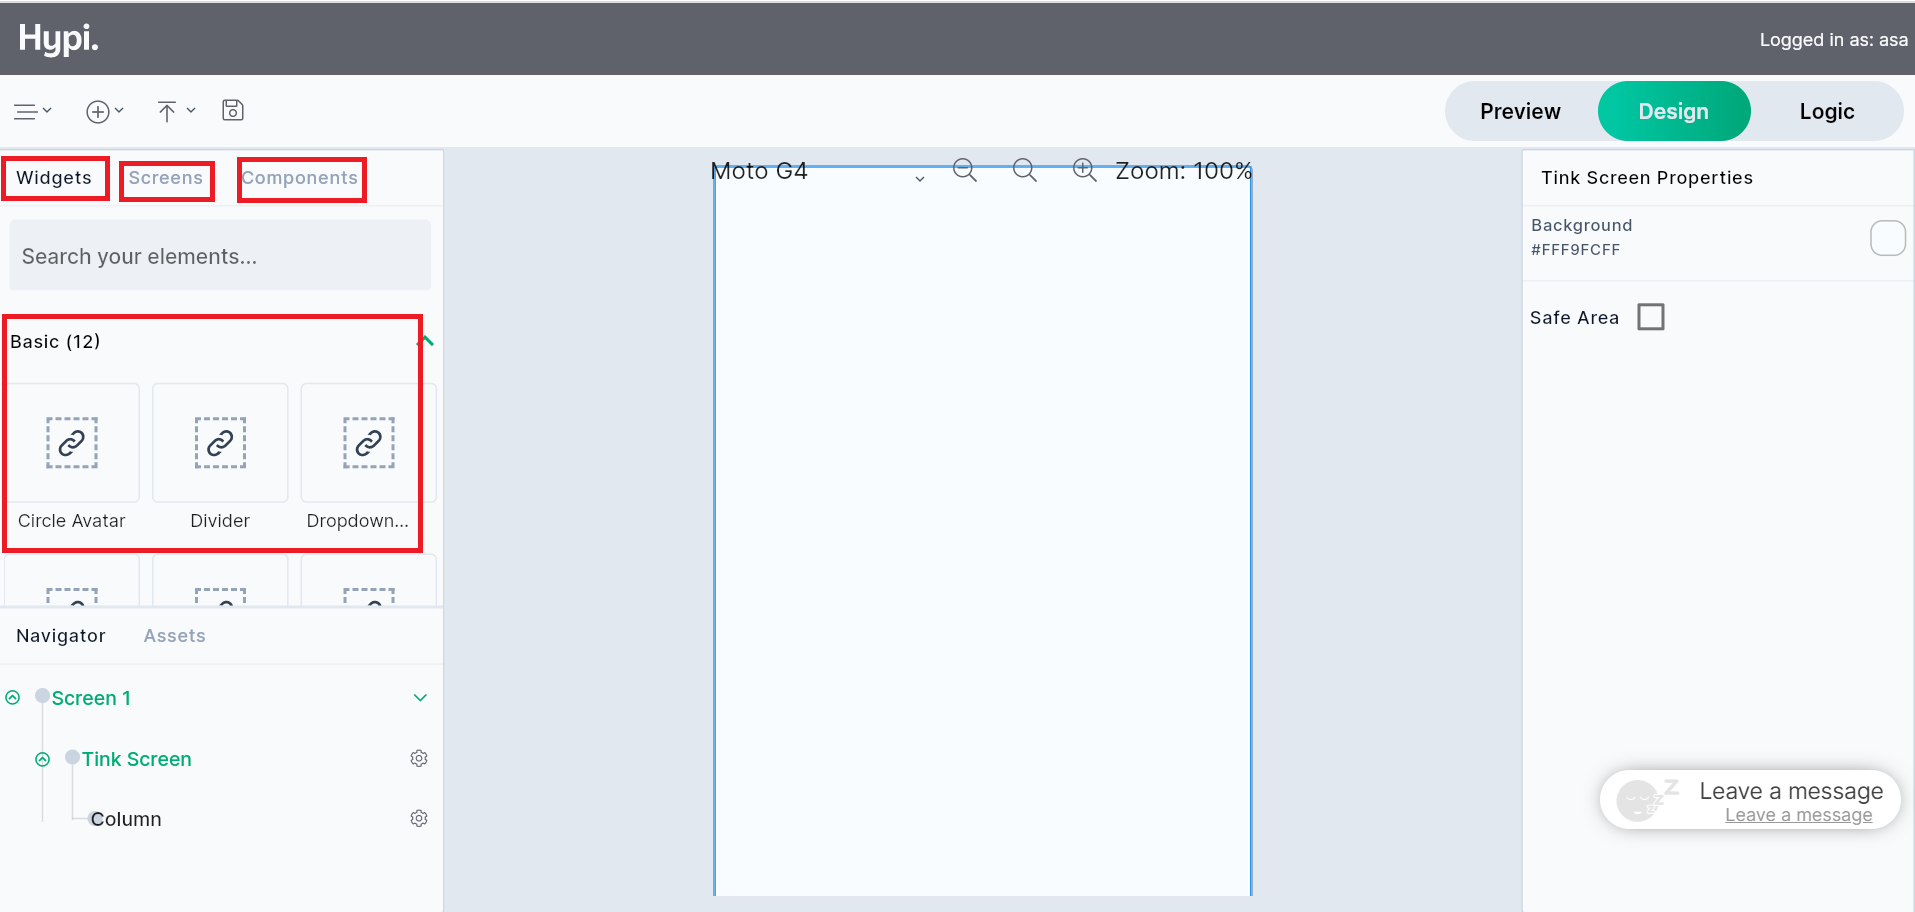
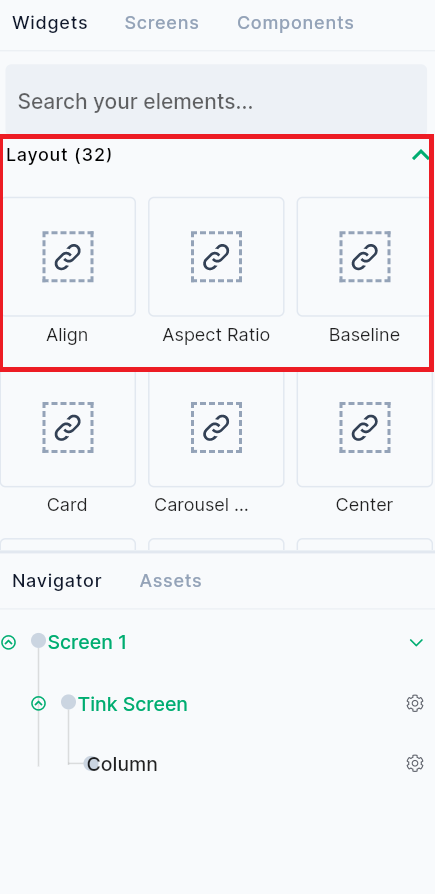
- Use Layout widgets to position the basic widgets. Customize the widgets using the Properties panel. Use Navigator to browse and select the added widgets.
- Use Logic with Output and Input bindings to transfer data from one widget to another.
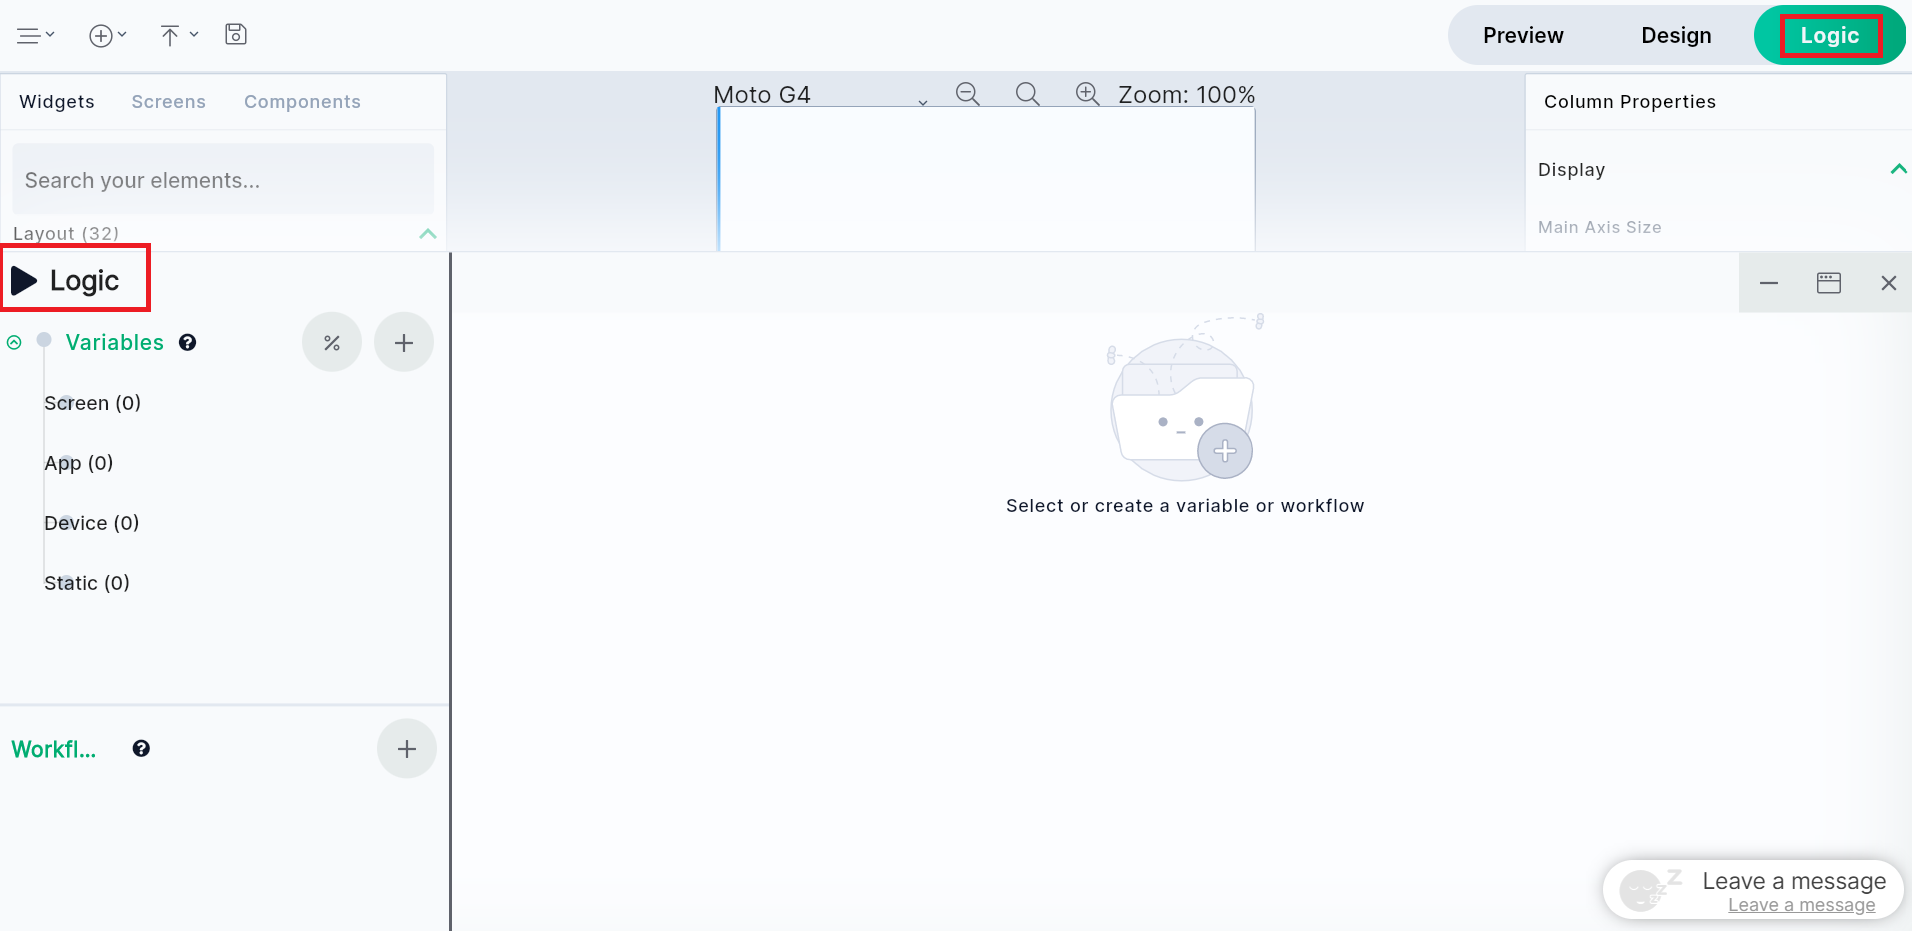
- Use Workflows to connect with backend