Get Started
Hypi platform is easy to use! A quick way to get started using the platform is to skim through references below. Also try out examples on usage of Hypi APIs in GraphQL editor.
API and References – Comprehensive Guide to use various Hypi APIs
GraphQL – Concise tutorial to understand GraphQL
ArcQL – A simple query language of Hypi
Here is a 5-minute Quick guide to start using Hypi!
- Complete the registration on Hypi portal by creating a user account.

- Create a new App by clicking
Create a new appbutton. You may choose appropriate name for the app depending upon the functionality to be built.
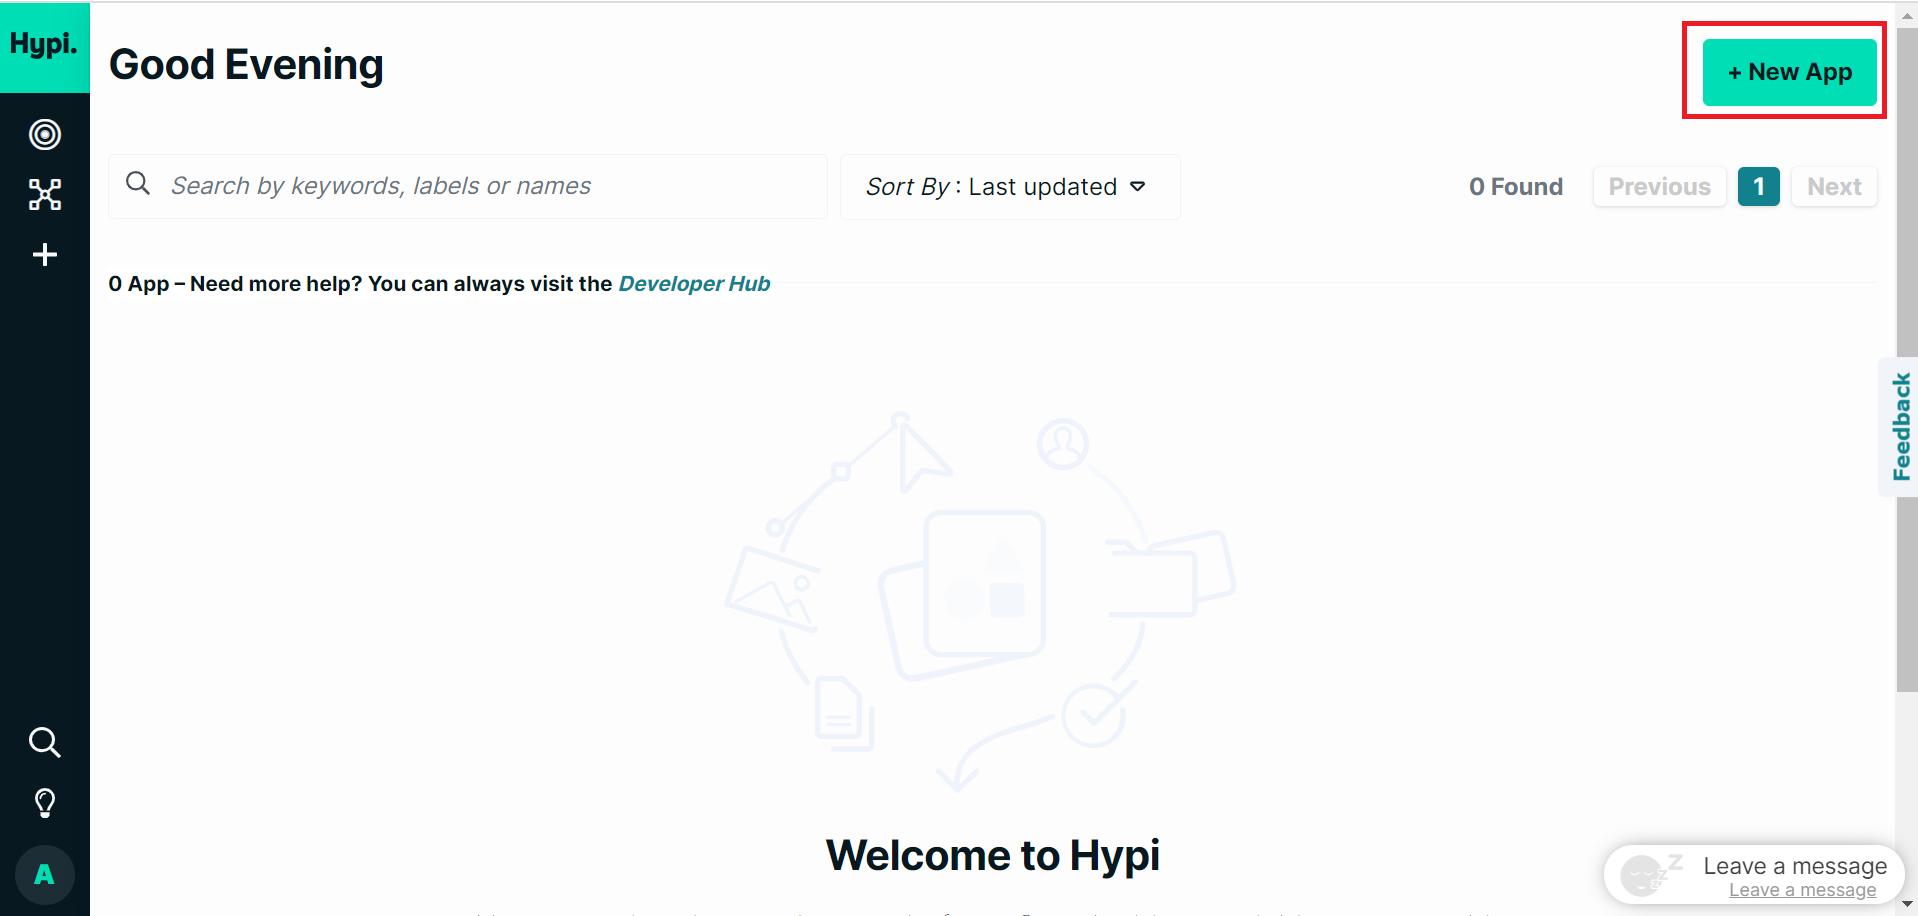
- New App gets created.
- You may use the release created automatically or create your own release by clicking
+New Releasebutton underVersionstab.
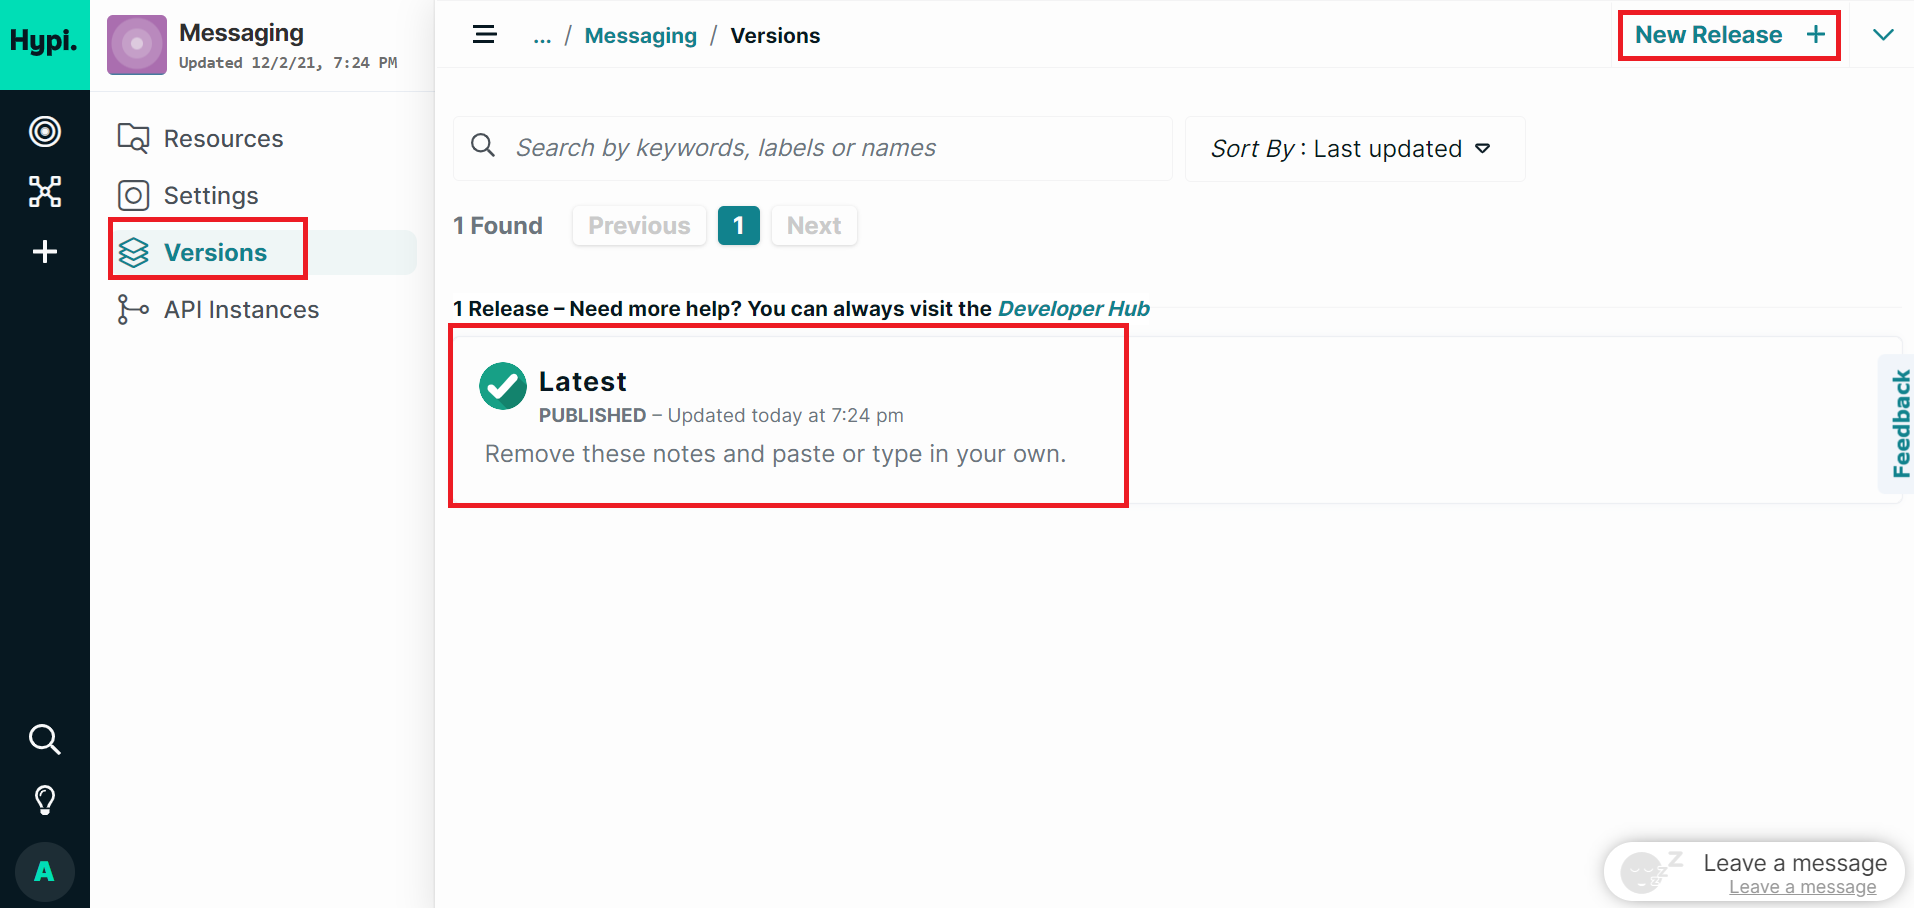
- Click on the created release to add Schema or data model of your app.

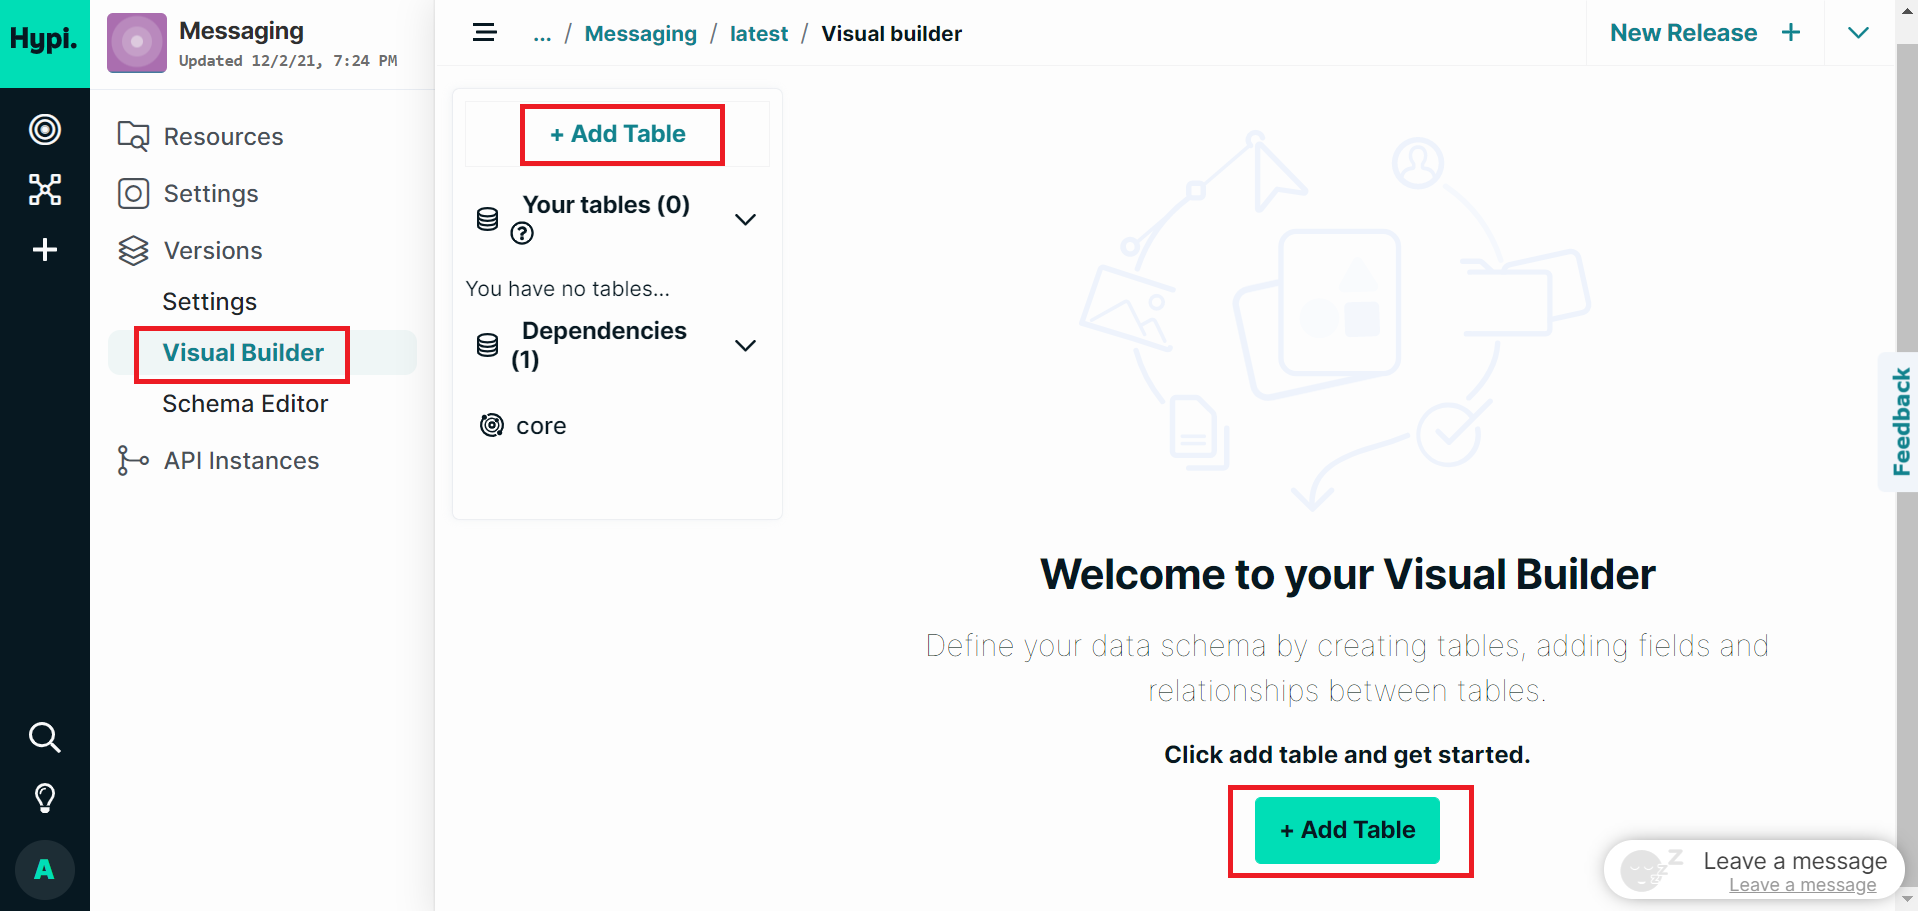
- Click on
Add TableunderVisual Buildertab to insert a table. Enter fields of your choice in the table.
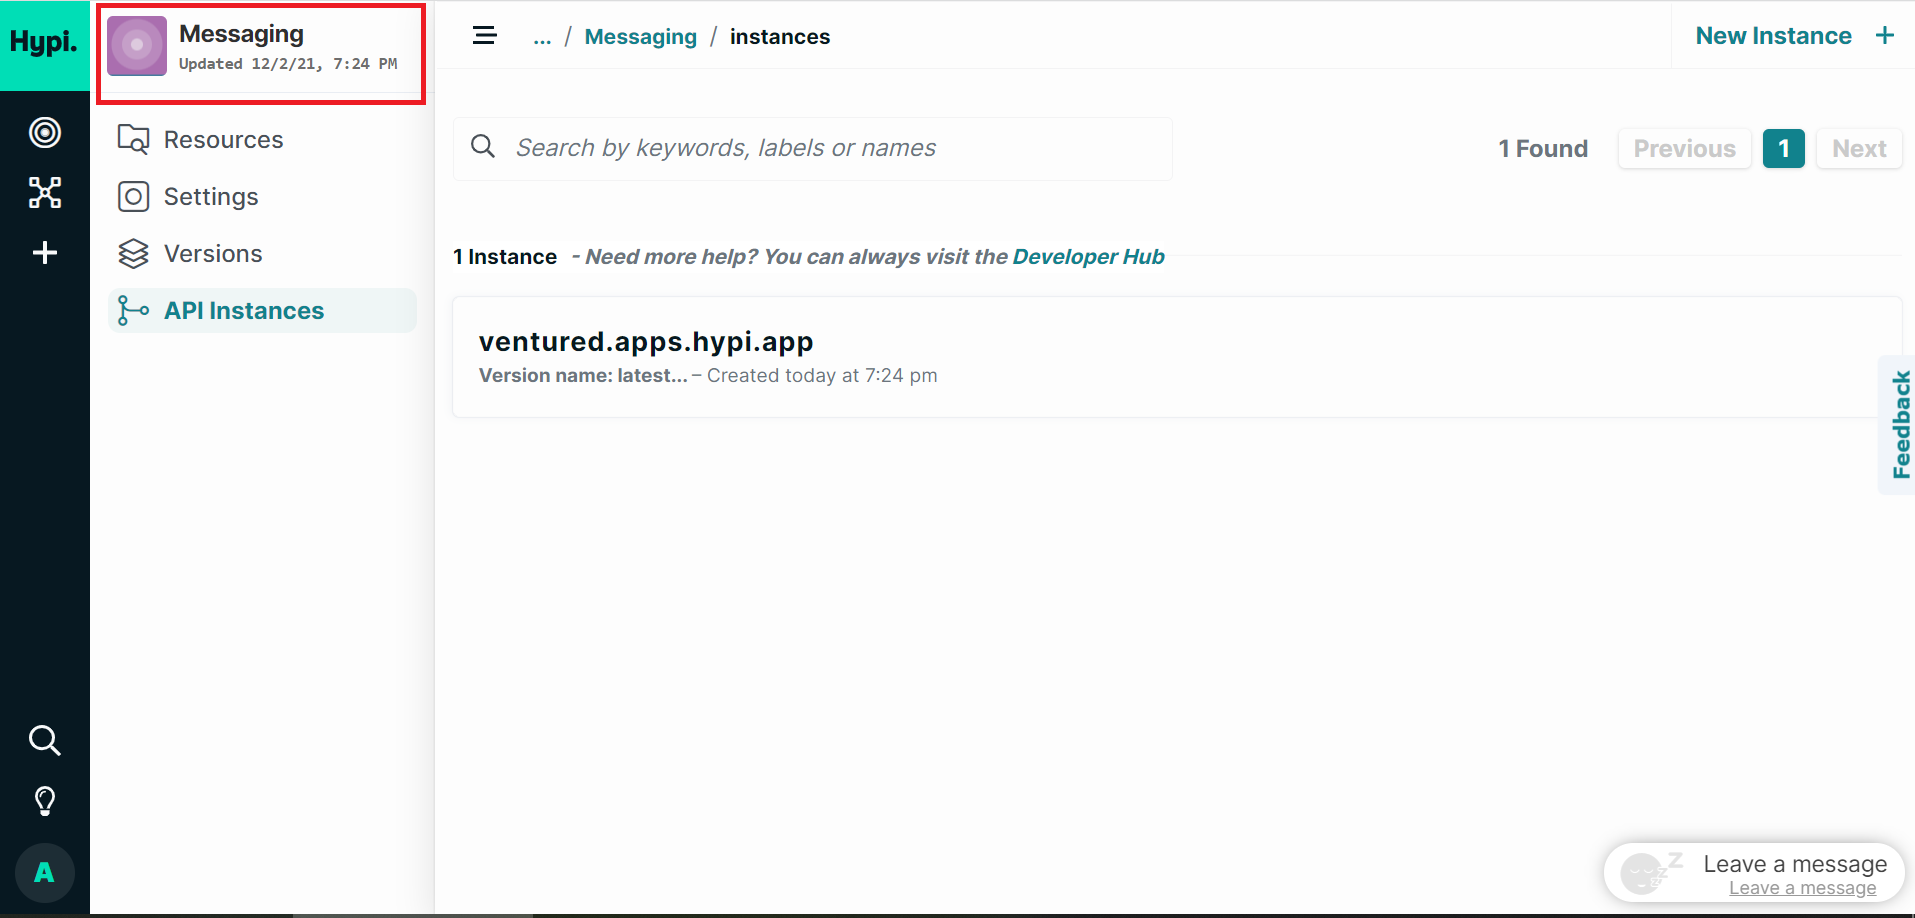
- Click on
API Instances. You may create new instance or use an existing one.
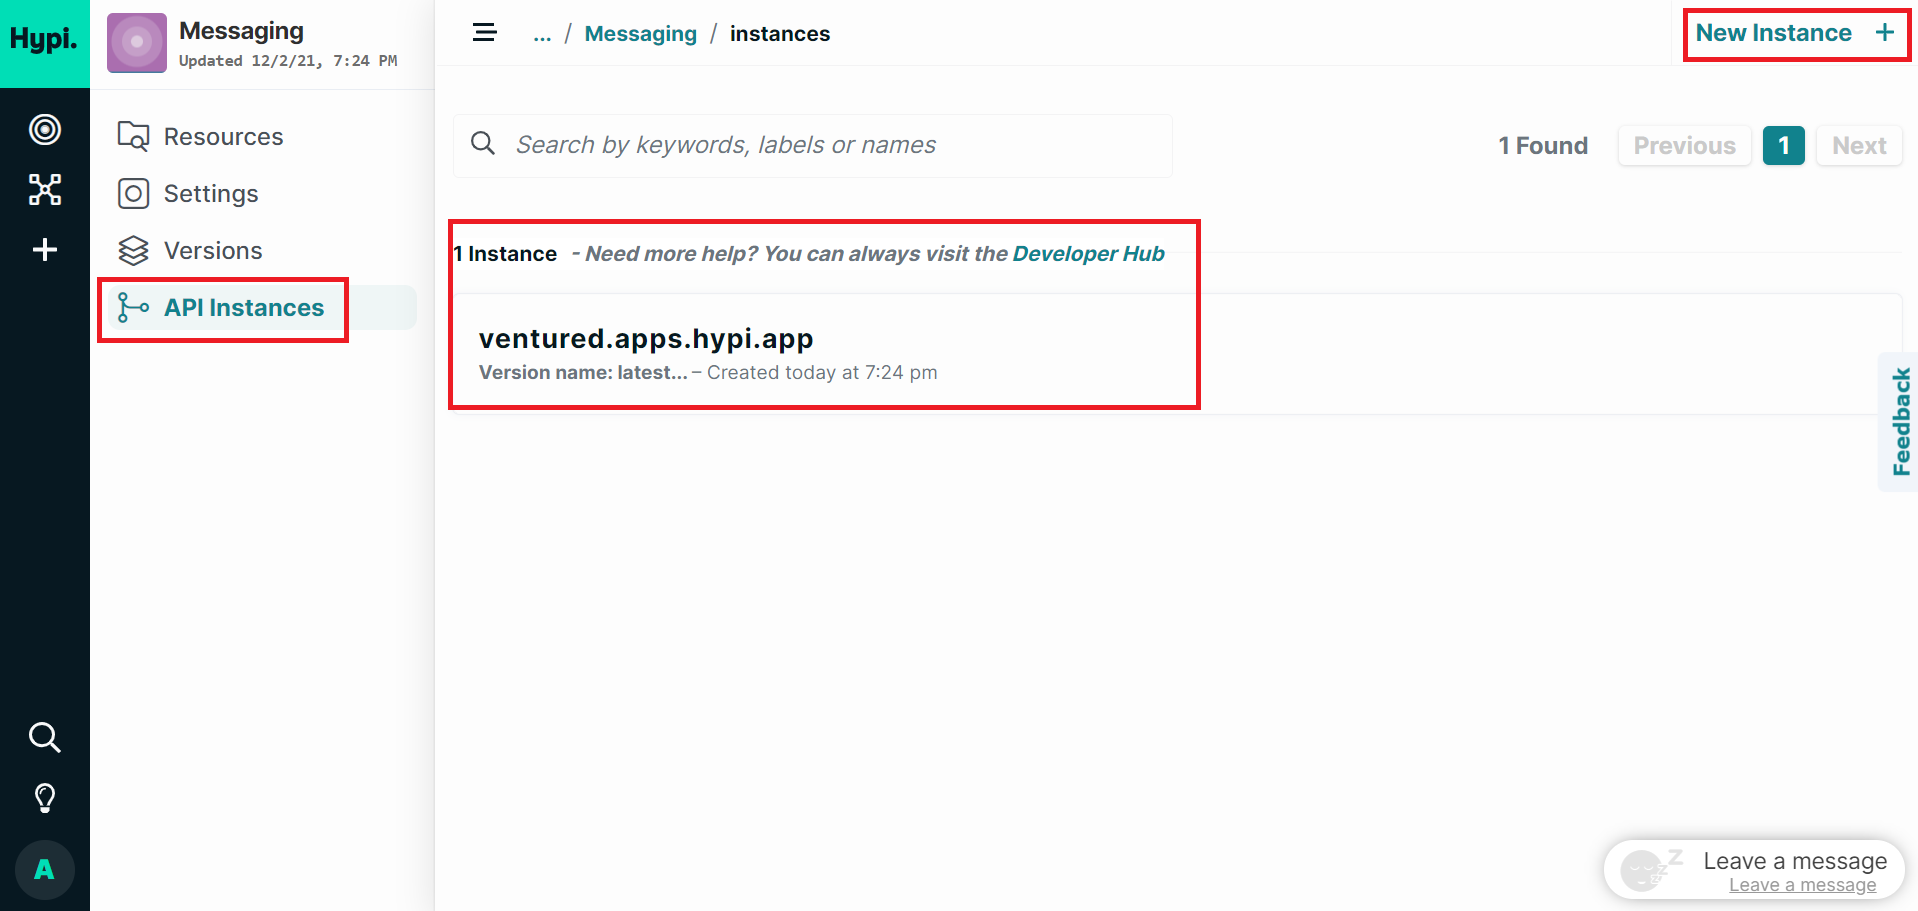
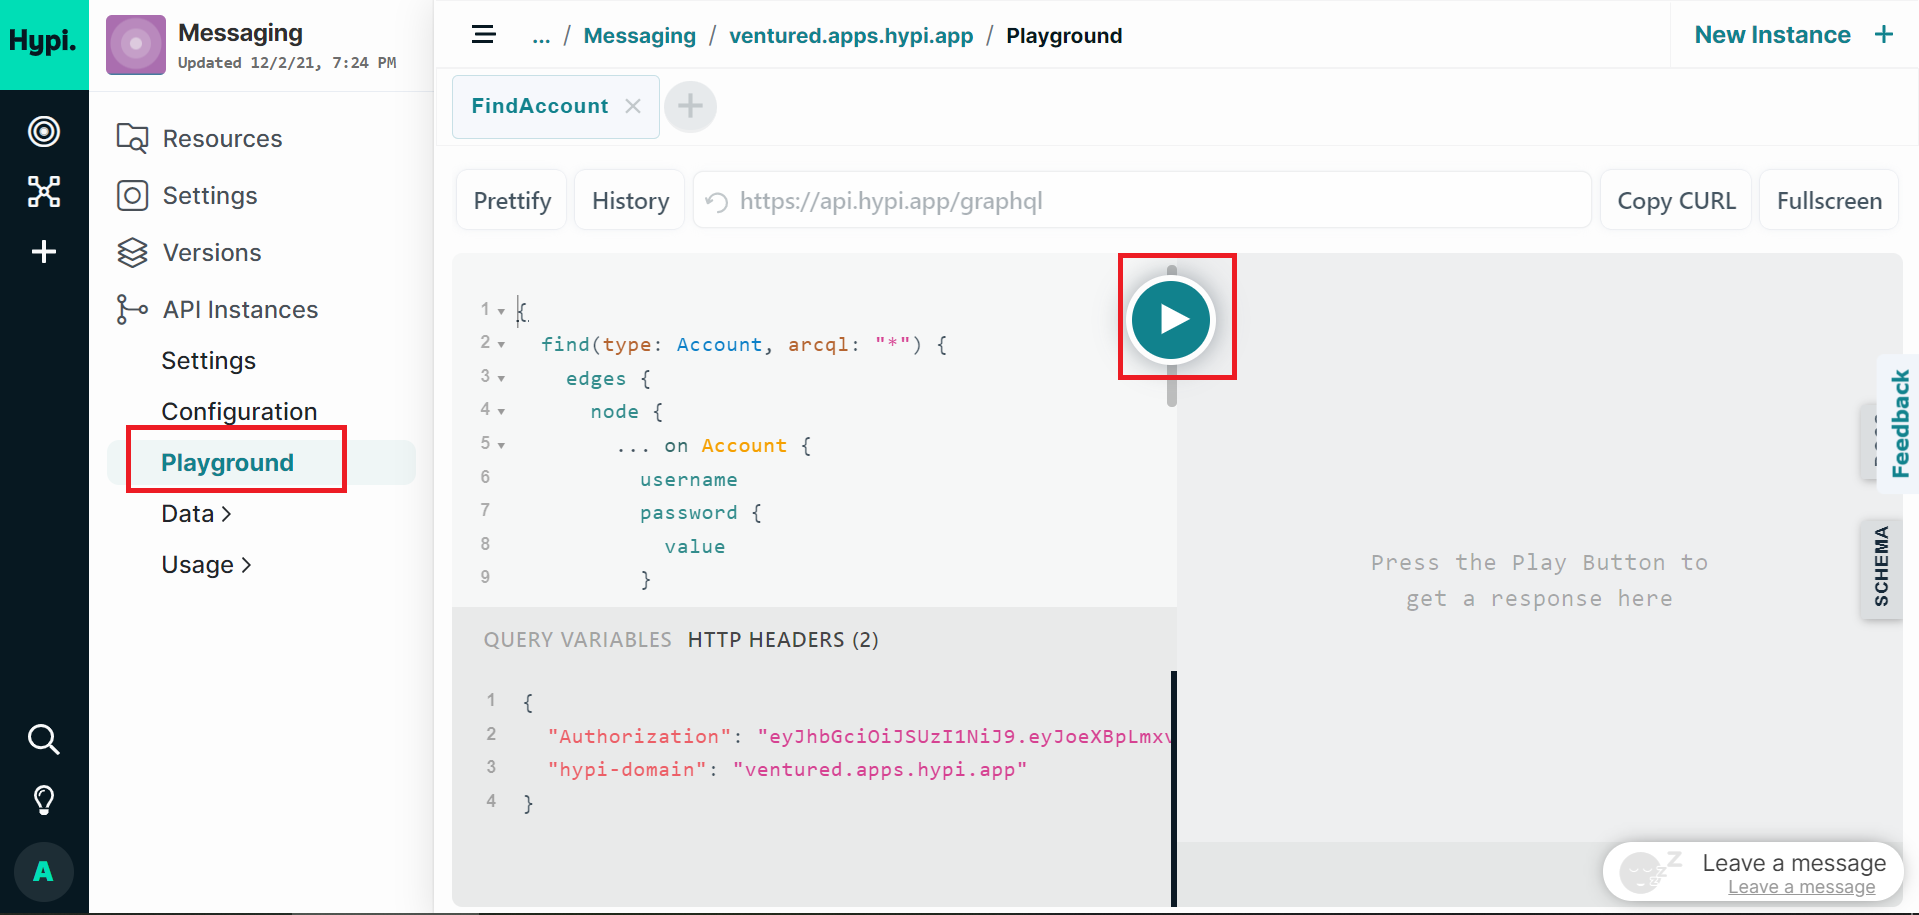
- Click on the Instance. Click on
Playgroundand thePlaybutton to play with Hypi APIs.
- Use
Settingsfrom GraphQL config tab to access the Hypi APIs from client app.
