Click Visual Builder under Versions to add Tables to the schema.
Under the Visual Data Builder tab, you will be able to create a Table adding the entries visually through UI. Click on +Add Table to add a new table.
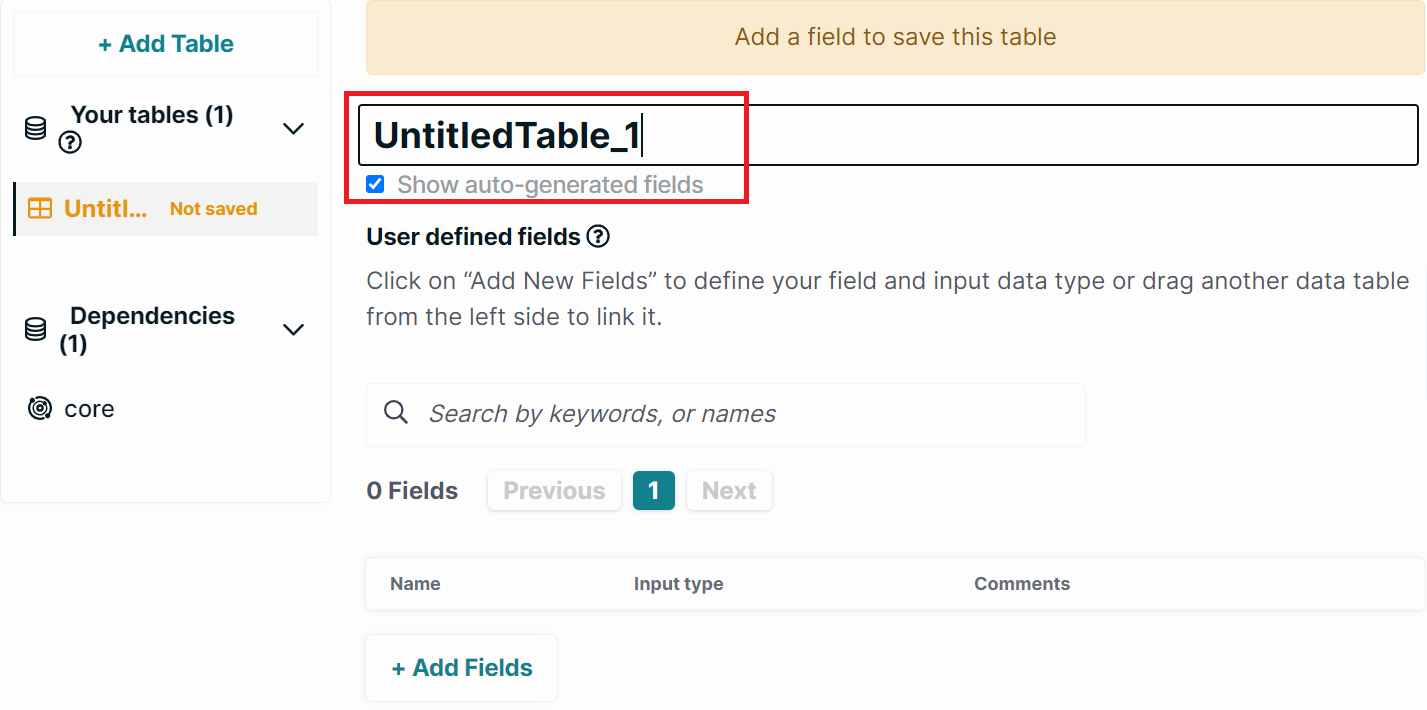
Name the table based upon your data model.
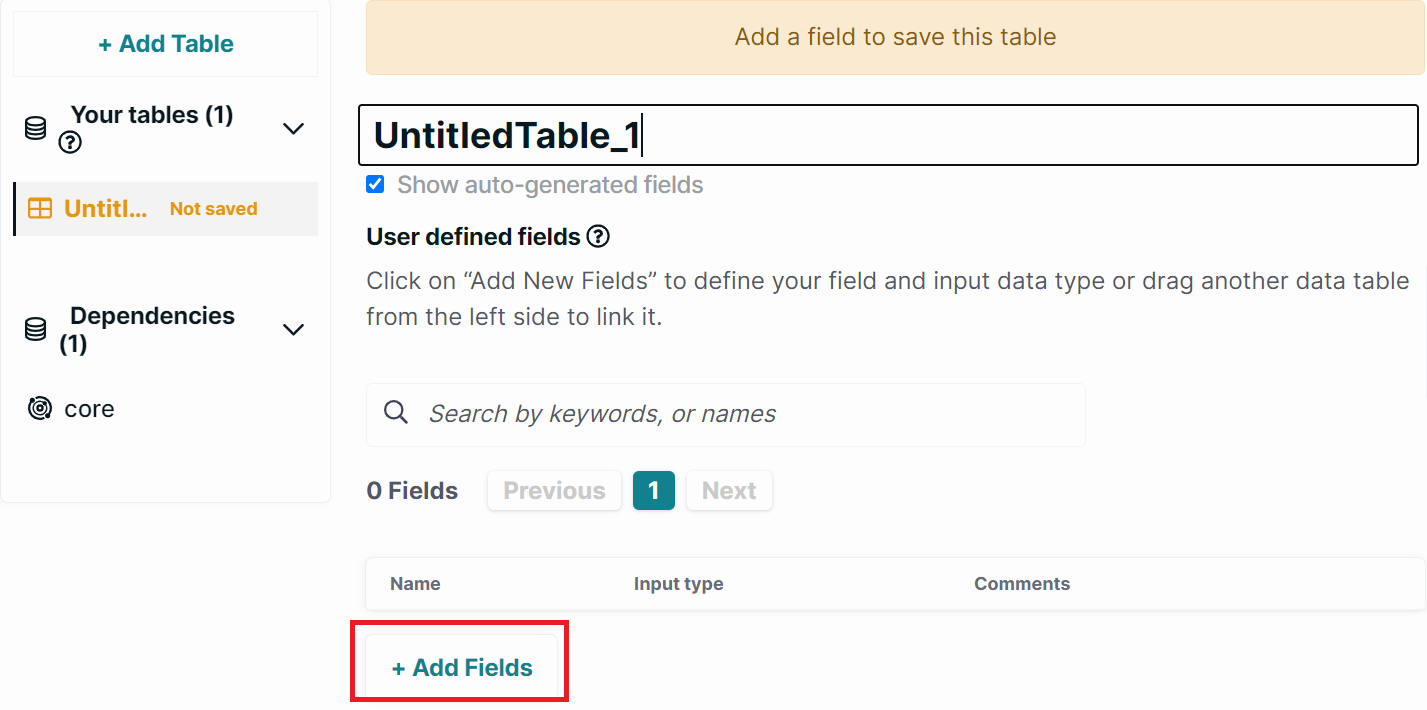
Click on +Add Fields to add fields/columns to the table.
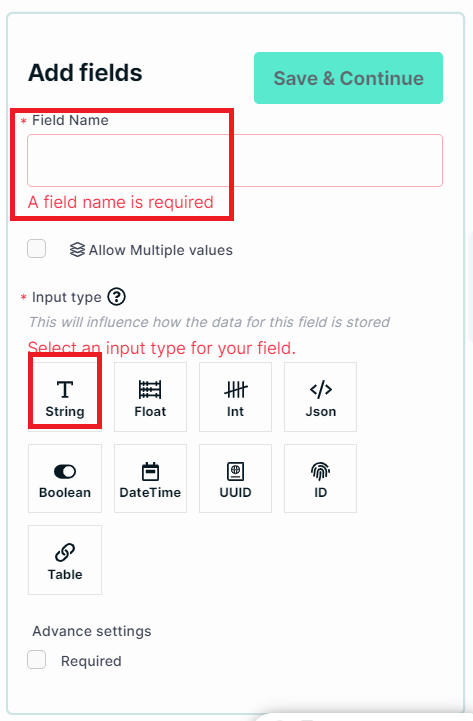
Using this UI, you will be able to enter various data types like string, integer, float, ID, Boolean, etc.
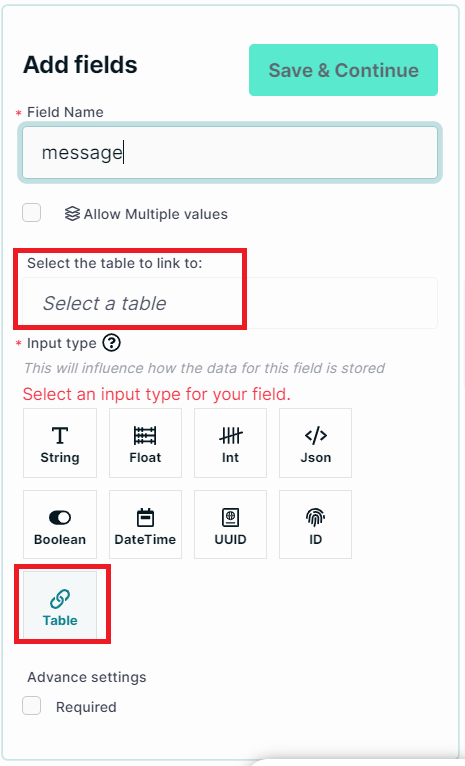
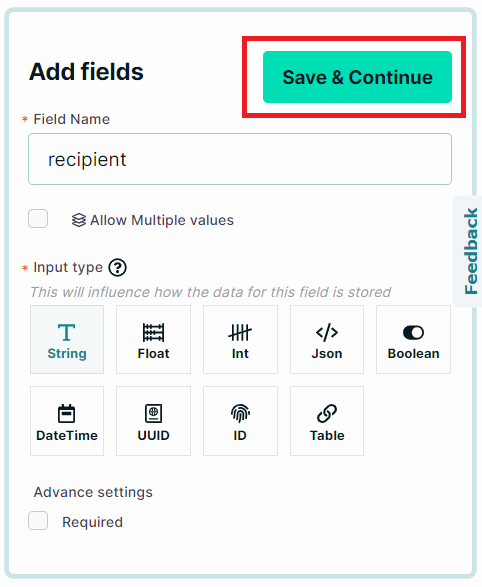
Enter the field name and select the type of the field.
You can declare an array of a field type by clicking Allow Multiple Values. You can also make a field mandatory by clicking Required.
You may select the field having any table as a data type. Select the data table from the drop-down list to link the table.
Click on Save and Continue button to save the field.
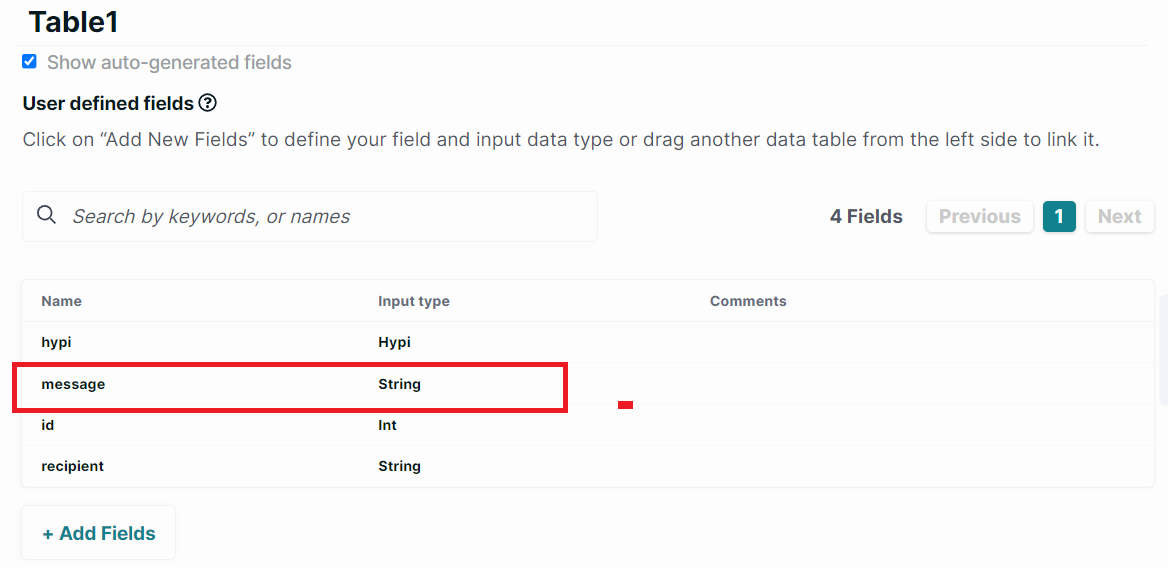
Table entries get saved in the schema.
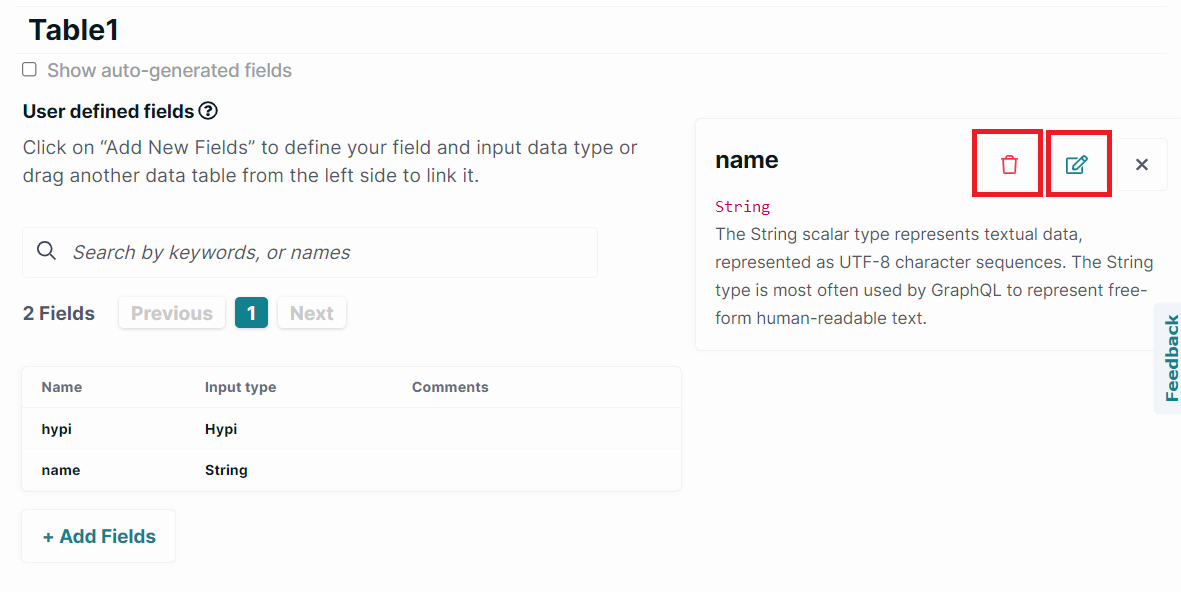
If you need to edit an entry click on the field.
You may delete or edit the entries by clicking the highlighted buttons. This option is available only under draft versions. For published versions, the fields will remain read-only.
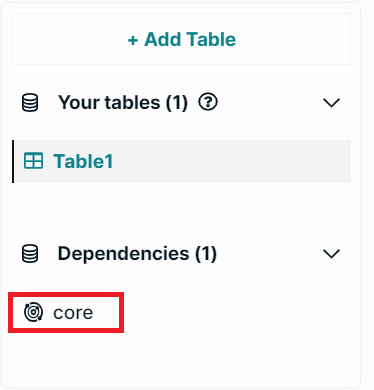
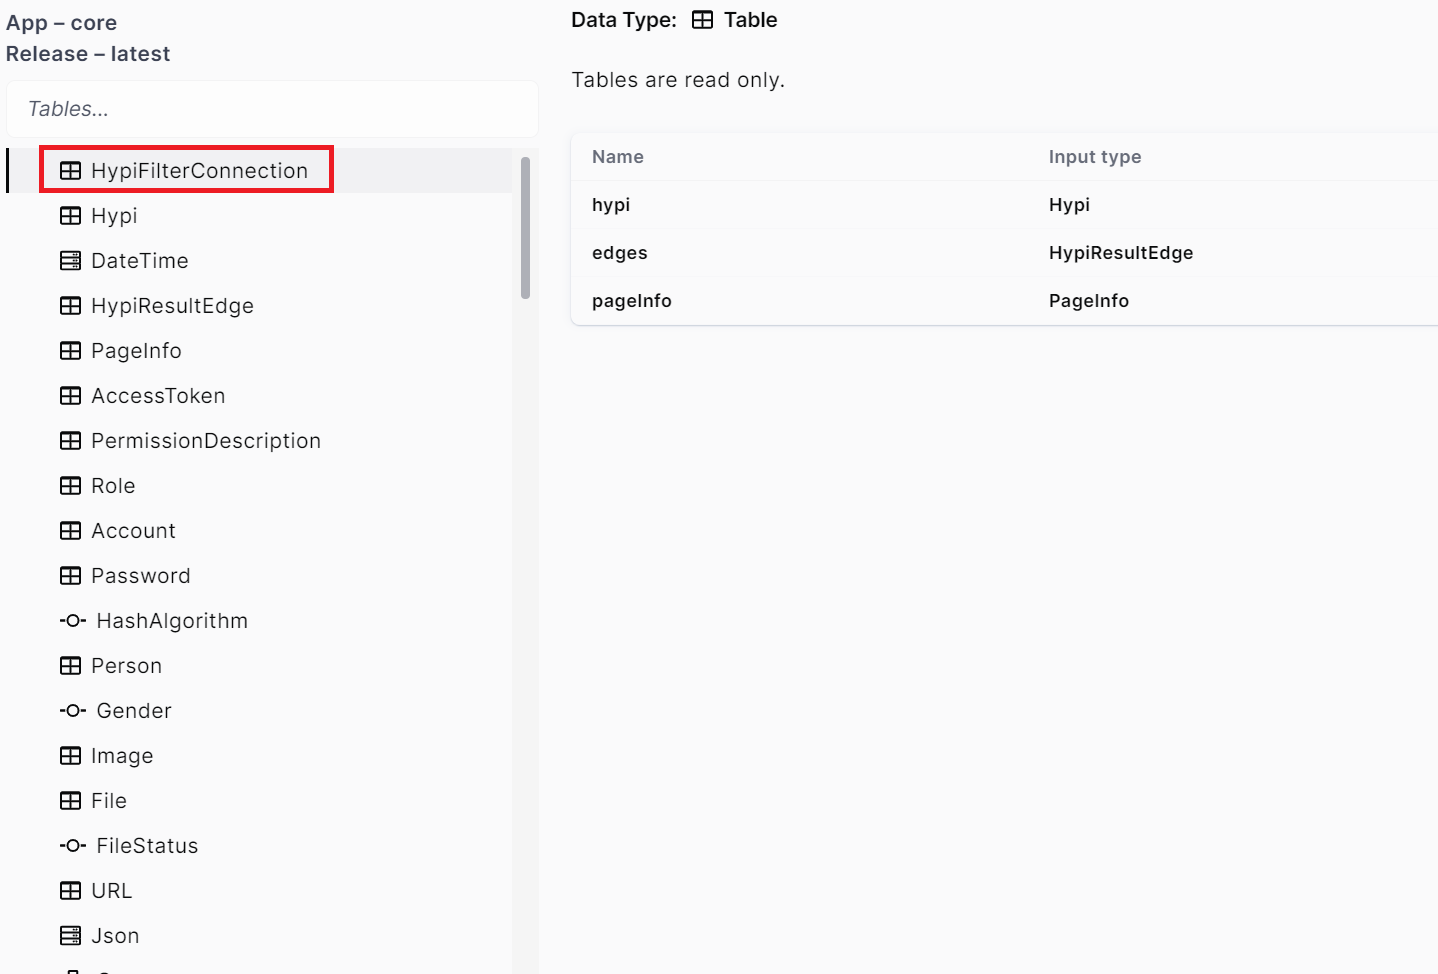
There are some in-built tables from Hypi called Core Tables. They are automatically added as a dependency in the schema. You can check these tables by clicking on Core Tables under Dependencies.